×
- Hello
- Login or Register
- Quick Links
- Live Chat
- Track Order
- Parts Availability
- RMA
- Help Center
- Contact Us
- Shop for
- Audi Parts

My Garage
My Account
Cart
Genuine Audi TT Quattro Ball Joint
Control Arm Joint- Select Vehicle by Model
- Select Vehicle by VIN
Select Vehicle by Model
orMake
Model
Year
Select Vehicle by VIN
For the most accurate results, select vehicle by your VIN (Vehicle Identification Number).
3 Ball Joints found
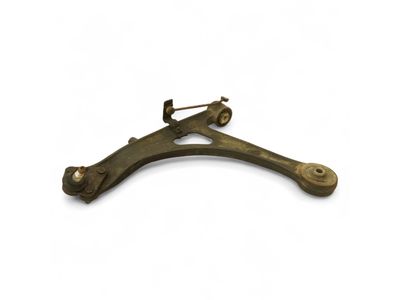
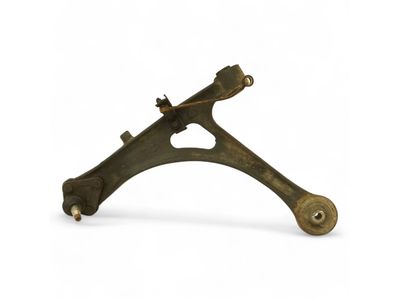
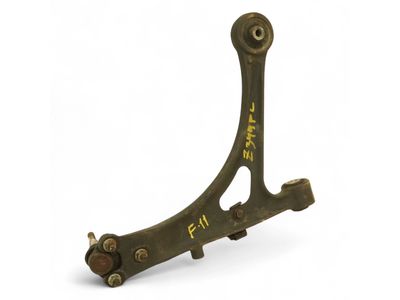
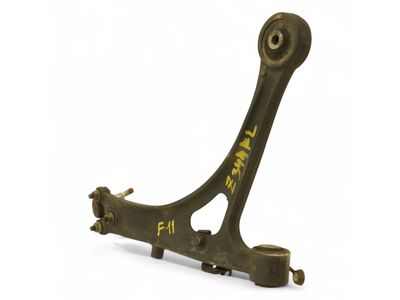
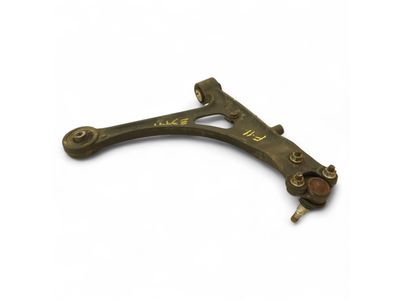
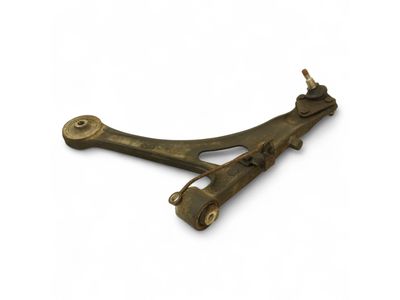
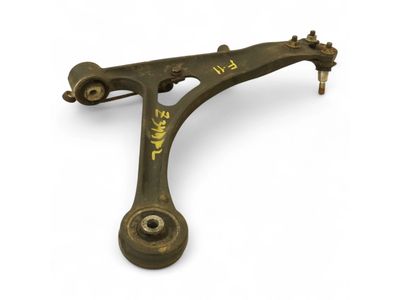
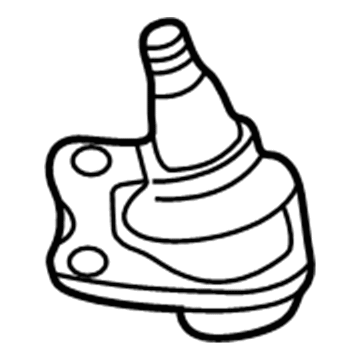
Audi TT Quattro Lower Ball Joint Part Number: 8N0-407-365-C
$155.71 MSRP: $218.08You Save: $62.37 (29%)Ships in 1-2 Business Days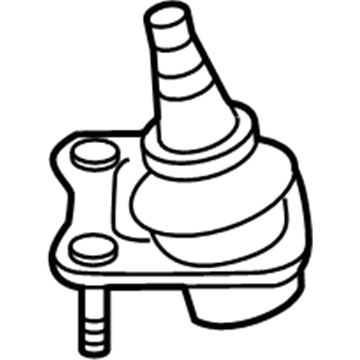
Audi TT Quattro Lower Ball Joint Part Number: 8J0-407-366
$184.45 MSRP: $258.34You Save: $73.89 (29%)Ships in 1-2 Business DaysAudi TT Quattro Lower Ball Joint Part Number: 8J0-407-365
$184.45 MSRP: $258.34You Save: $73.89 (29%)Ships in 1-2 Business Days
Audi TT Quattro Ball Joint
Choose original equipment manufacturer Ball Joint for great performance and strong durability. They use Audi's official craftsmanship and high-grade materials, and meet strict quality standards. Are you looking for quality Ball Joint at a good price? Come to our online store. We carry a wide range of genuine parts for your Audi TT Quattro and the prices are competitive. Each part comes with the manufacturer's warranty. You can install with confidence and get steady results. Over time, you'll save money and avoid hassle. Keep your maintenance simple and protect your vehicle with OEM parts. Get the quality your TT Quattro needs now.
Audi TT Quattro Ball Joint Parts and Q&A
- Q:How can a Ball Joint be safely removed and installed on Audi TT Quattro?A:Raise the car and support it safely, then remove the front wheel(s). Mark the positions of the ball joint lower mounting nuts and remove the nuts. Loosen the upper nut from the ball joint, leaving it on the end of the threaded shaft for now. For the 3.2L Roadster, detach the Control Arm from the ball joint. Use the ball joint puller Kukko 129/0 to press out the ball joint, leaving the nut on top a few turns to protect the threads. Ensure the ball joint puller is seated correctly to avoid pulling out the sleeve in the wheel bearing housing. Remove the upper mounting nut and ball joint. For all other vehicles, attach the ball joint puller (3287A or equivalent) and press out the ball joint, again leaving the nut on top a few turns. Remove the upper mounting nut and ball joint. Begin installation by mounting the ball joint to the control arm, positioning the lower mounting nuts at the previously marked positions. Use a new self-locking nut to install the ball joint to the wheel bearing housing, counter-holding the ball joint with a T40 Tone wrench while tightening the upper mounting nut. Ensure the ball joint boot is not damaged or twisted. Finally, align the vehicle according to the wheel alignment specifications.
Related Audi TT Quattro Parts
 Audi TT Quattro Axle Beam
 Audi TT Quattro Axle Support Bushings
 Audi TT Quattro Control Arm
 Audi TT Quattro Lateral Link
 Audi TT Quattro Shock Absorber
 Audi TT Quattro Spindle Nut
 Audi TT Quattro Strut Bearing
 Audi TT Quattro Suspension Strut Rod
 Audi TT Quattro Sway Bar Bracket
 Audi TT Quattro Sway Bar Link Bushing
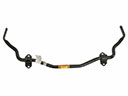 Audi TT Quattro Sway Bars
 Audi TT Quattro Track Bar
Browse by Year
2023 Ball Joint 2022 Ball Joint 2021 Ball Joint 2020 Ball Joint 2019 Ball Joint 2018 Ball Joint 2017 Ball Joint 2016 Ball Joint 2015 Ball Joint 2014 Ball Joint 2013 Ball Joint 2012 Ball Joint 2011 Ball Joint 2010 Ball Joint 2009 Ball Joint 2008 Ball Joint 2006 Ball Joint 2005 Ball Joint 2004 Ball Joint 2003 Ball Joint 2002 Ball Joint 2001 Ball Joint 2000 Ball Joint