×
- Hello
- Login or Register
- Quick Links
- Live Chat
- Track Order
- Parts Availability
- RMA
- Help Center
- Contact Us
- Shop for
- Audi Parts

My Garage
My Account
Cart
Genuine Audi TT Quattro Control Arm
Suspension Arm- Select Vehicle by Model
- Select Vehicle by VIN
Select Vehicle by Model
orMake
Model
Year
Select Vehicle by VIN
For the most accurate results, select vehicle by your VIN (Vehicle Identification Number).
9 Control Arms found
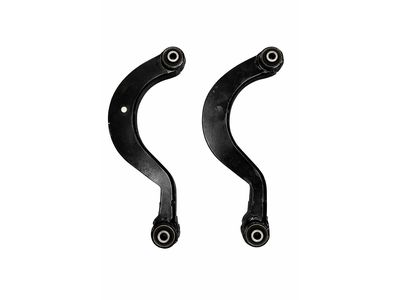
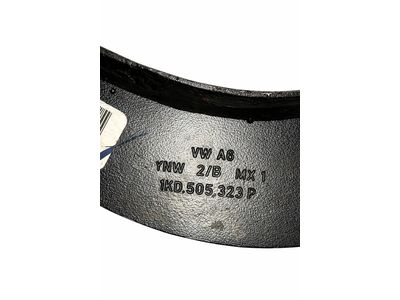
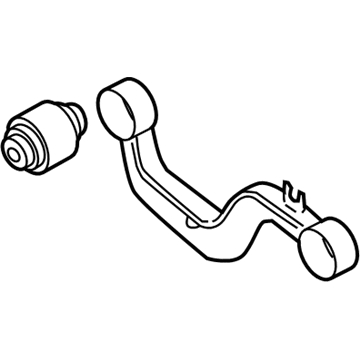
Audi TT Quattro Upper Control Arm Part Number: 1K0-505-323-N
$176.43 MSRP: $247.10You Save: $70.67 (29%)Ships in 1-2 Business Days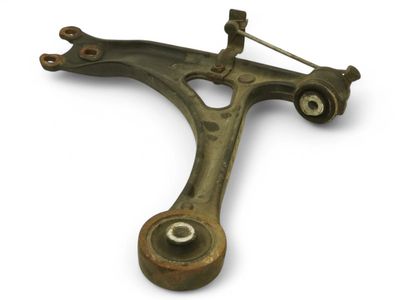
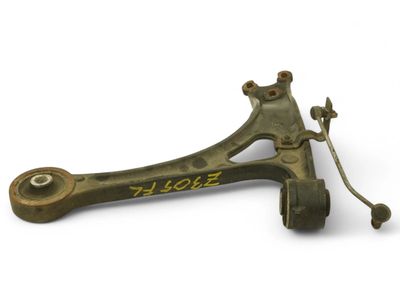
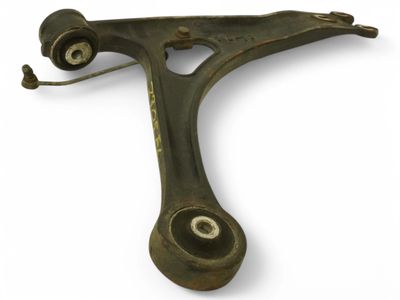
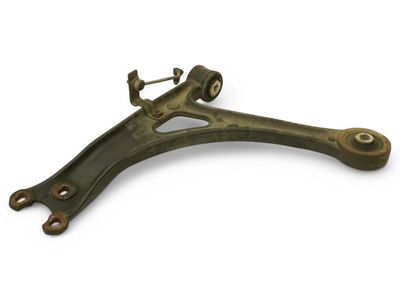
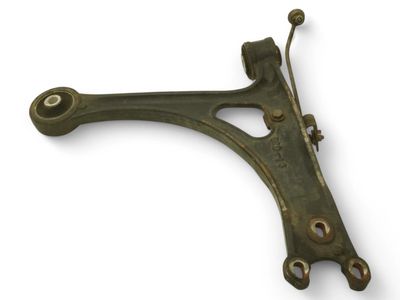
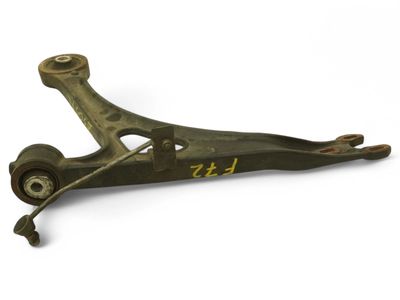
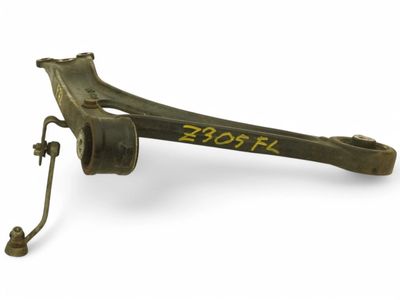
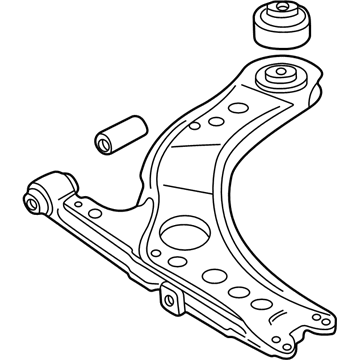
Audi TT Quattro Lower Control Arm Part Number: 8N0-407-151-D
$199.53 MSRP: $279.45You Save: $79.92 (29%)Ships in 1-2 Business Days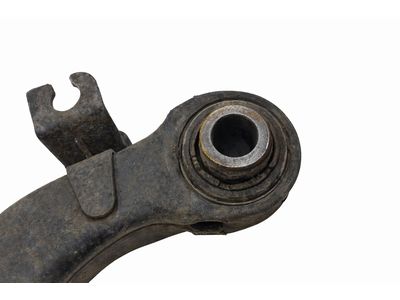
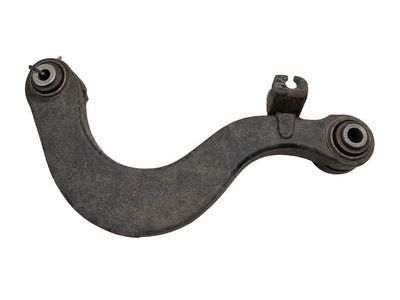
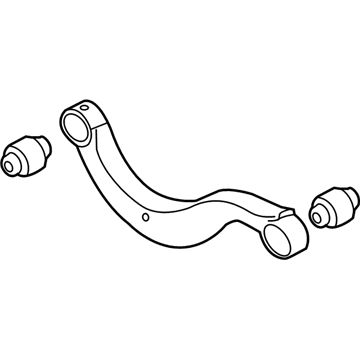
Audi TT Quattro Upper Control Arm Part Number: 5Q0-505-323-D
$229.90 MSRP: $321.98You Save: $92.08 (29%)Ships in 1-2 Business Days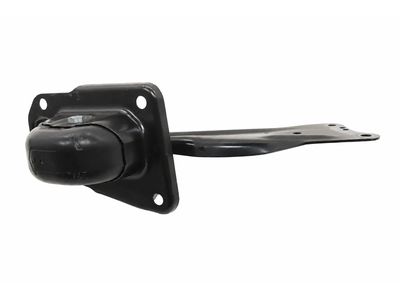
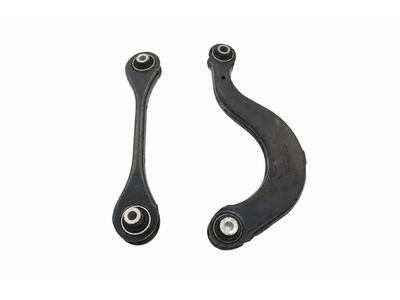
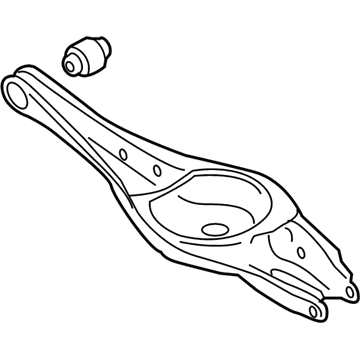
Audi TT Quattro Lower Control Arm Part Number: 5Q0-505-311-J
$367.63 MSRP: $514.89You Save: $147.26 (29%)Ships in 1-2 Business Days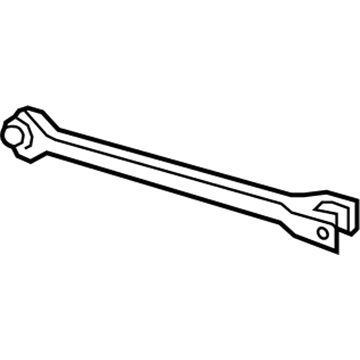
Audi TT Quattro Lower Control Arm Part Number: 1J0-505-323-N
$234.89 MSRP: $328.98You Save: $94.09 (29%)Ships in 1-2 Business DaysAudi TT Quattro Lower Control Arm Part Number: 8N0-407-152-D
$258.91 MSRP: $362.62You Save: $103.71 (29%)Ships in 1-2 Business Days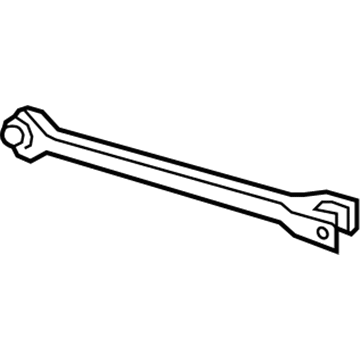
Audi TT Quattro Upper Control Arm Part Number: 1J0-505-323-L
$262.38 MSRP: $367.48You Save: $105.10 (29%)Ships in 1-2 Business Days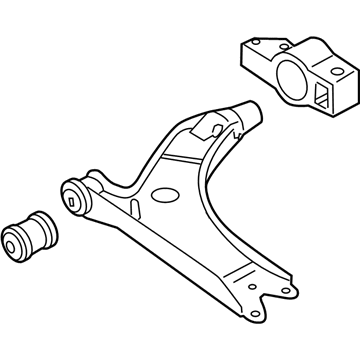
Audi TT Quattro Lower Control Arm Part Number: 8J0-407-151-D
$450.88 MSRP: $631.49You Save: $180.61 (29%)Ships in 1-2 Business Days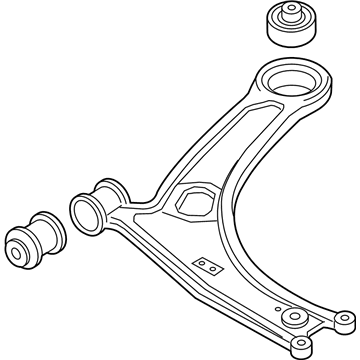
Audi TT Quattro Lower Control Arm Part Number: 8S0-407-151-D
$459.34 MSRP: $643.33You Save: $183.99 (29%)Ships in 1-2 Business Days
Audi TT Quattro Control Arm
Choose original equipment manufacturer Control Arm for great performance and strong durability. They use Audi's official craftsmanship and high-grade materials, and meet strict quality standards. Are you looking for quality Control Arm at a good price? Come to our online store. We carry a wide range of genuine parts for your Audi TT Quattro and the prices are competitive. Each part comes with the manufacturer's warranty. You can install with confidence and get steady results. Over time, you'll save money and avoid hassle. Keep your maintenance simple and protect your vehicle with OEM parts. Get the quality your TT Quattro needs now.
Audi TT Quattro Control Arm Parts and Q&A
- Q:How to install a Control Arm on Audi TT Quattro?A:There are different versions of the control arm, and the same version must always be installed on both sides. Raise the car and support it safely. Remove the front wheel(s) and the lower sound insulation panel under the engine. For vehicles with Xenon headlights, remove the headlight range control linkage at the left control arm. Mark the positions of the ball joint lower mounting nuts and remove the nuts. Remove the control arm mounting bolts and the control arm, noting that one bolt is secured from above with a nut. When installing, install the control arm into the subframe and secure it, position the lower ball joint mounting nuts at the previously marked positions, and remember that bonded rubber bushings can only be turned to a limited extent. The bolted connections on suspension links should only be tightened when the vehicle is standing on the ground. Align the vehicle according to the wheel alignment specifications.
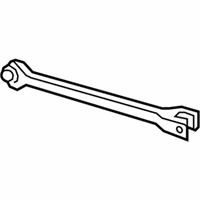
Related Audi TT Quattro Parts
 Audi TT Quattro Axle Beam Mount
 Audi TT Quattro Axle Pivot Bushing
 Audi TT Quattro Ball Joint
 Audi TT Quattro Camber and Alignment Kit
 Audi TT Quattro Manual Transmission Extension Housing Seal
 Audi TT Quattro Radius Arm Bushing
 Audi TT Quattro Steering Knuckle
 Audi TT Quattro Sway Bar Bracket
 Audi TT Quattro Sway Bar Bushing
 Audi TT Quattro Sway Bar Link
 Audi TT Quattro Track Bar
 Audi TT Quattro Trailing Arm Bushing
Browse by Year
2023 Control Arm 2022 Control Arm 2021 Control Arm 2020 Control Arm 2019 Control Arm 2018 Control Arm 2017 Control Arm 2016 Control Arm 2015 Control Arm 2014 Control Arm 2013 Control Arm 2012 Control Arm 2011 Control Arm 2010 Control Arm 2009 Control Arm 2008 Control Arm 2006 Control Arm 2005 Control Arm 2004 Control Arm 2003 Control Arm 2002 Control Arm 2001 Control Arm 2000 Control Arm