×
- Hello
- Login or Register
- Quick Links
- Live Chat
- Track Order
- Parts Availability
- RMA
- Help Center
- Contact Us
- Shop for
- Audi Parts

My Garage
My Account
Cart
Genuine Audi TT Quattro Axle Shaft
Car Axle Shaft- Select Vehicle by Model
- Select Vehicle by VIN
Select Vehicle by Model
orMake
Model
Year
Select Vehicle by VIN
For the most accurate results, select vehicle by your VIN (Vehicle Identification Number).
31 Axle Shafts found
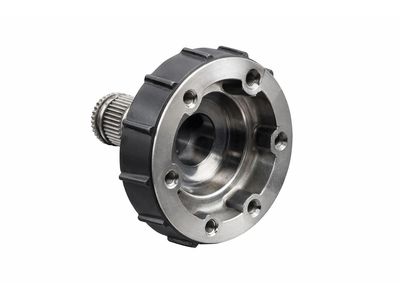
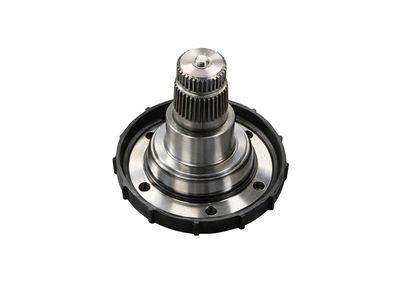
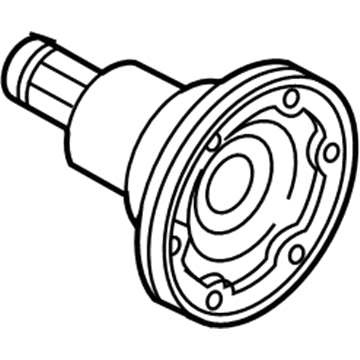
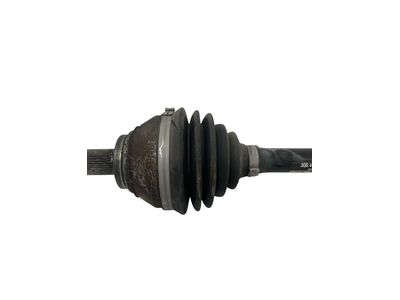
Audi TT Quattro Output Shaft Part Number: 0CQ-525-351-A
$419.46 MSRP: $587.49You Save: $168.03 (29%)Ships in 1-2 Business Days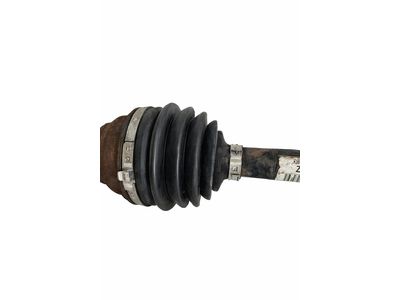
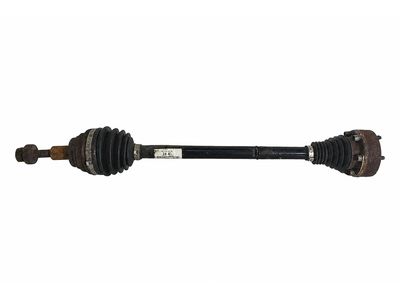
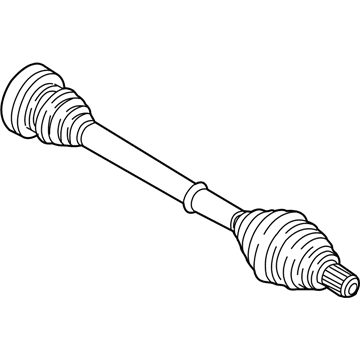
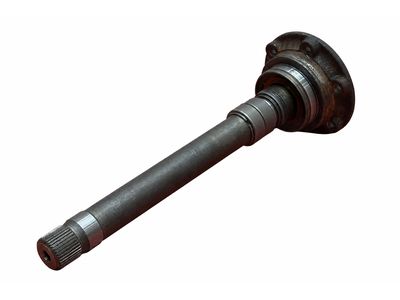
Audi TT Quattro Axle Assembly Part Number: 8J0-501-204-A
$496.23 MSRP: $695.00You Save: $198.77 (29%)Ships in 1-2 Business Days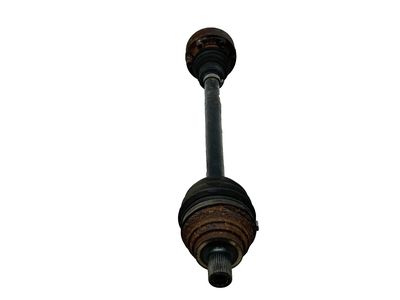
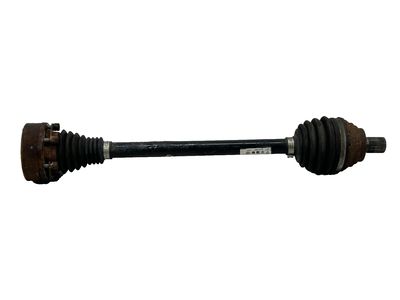
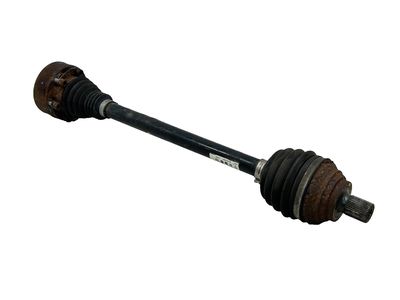
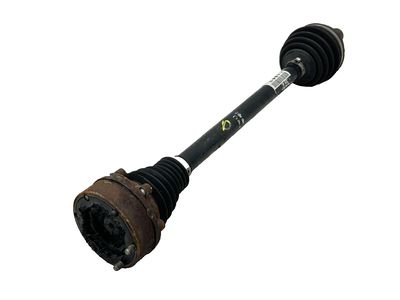
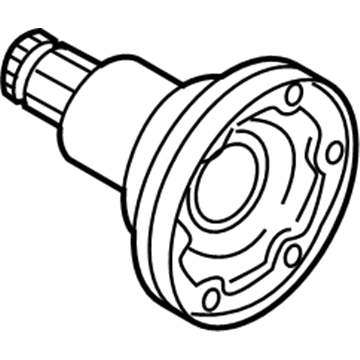
Audi TT Quattro Axle Assembly Part Number: 8J0-501-203-A
$496.23 MSRP: $695.00You Save: $198.77 (29%)Ships in 1-2 Business Days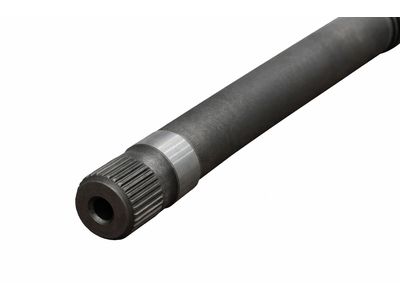
Audi TT Quattro Output Shaft Part Number: 02D-525-356
$568.21 MSRP: $795.82You Save: $227.61 (29%)Ships in 1-2 Business Days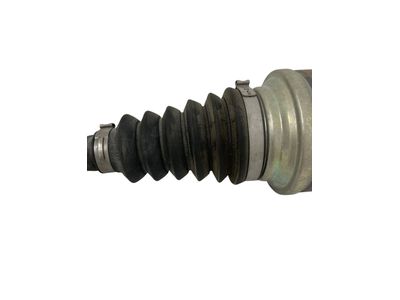
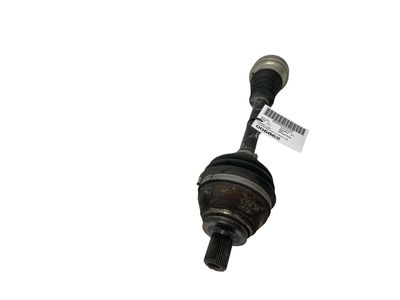
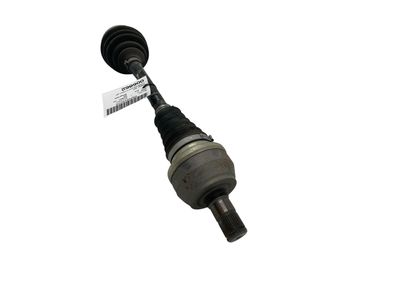
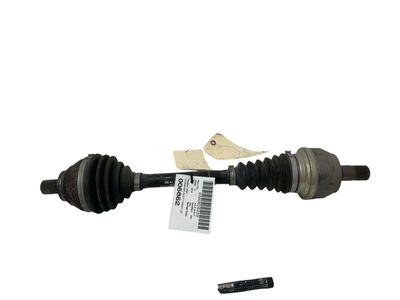
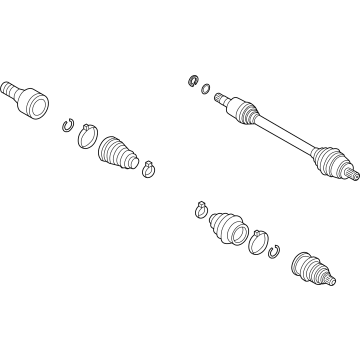
Audi TT Quattro Axle Assembly Part Number: 3Q0-407-271-AT
$502.91 MSRP: $603.73You Save: $100.82 (17%)Ships in 1-2 Business Days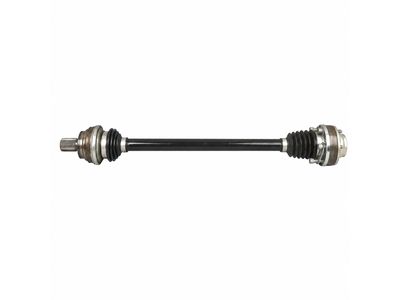
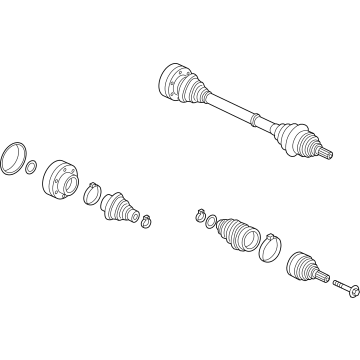
Audi TT Quattro Axle Assembly Part Number: 5Q0-501-203-C
$589.04 MSRP: $707.14You Save: $118.10 (17%)Ships in 1-2 Business Days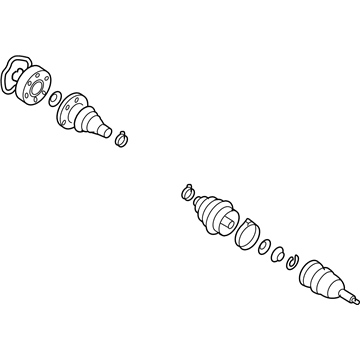
Audi TT Quattro Axle Assembly Part Number: 8N0-407-452-DX
$267.19 MSRP: $315.71You Save: $48.52 (16%)Ships in 1-2 Business Days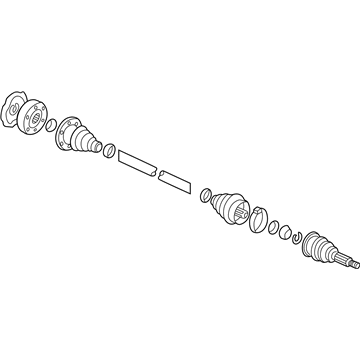
Audi TT Quattro Axle Assembly Part Number: 1J0-501-203-BX
$281.47 MSRP: $332.86You Save: $51.39 (16%)Ships in 1-2 Business DaysAudi TT Quattro Output Shaft Part Number: 01Z-525-356
$348.06 MSRP: $487.49You Save: $139.43 (29%)Ships in 1-2 Business DaysAudi TT Quattro Output Shaft Part Number: 01Z-525-355
$386.74 MSRP: $541.66You Save: $154.92 (29%)Ships in 1-2 Business DaysAudi TT Quattro Output Shaft Part Number: 0CQ-525-354-A
$419.46 MSRP: $587.49You Save: $168.03 (29%)Ships in 1-2 Business DaysAudi TT Quattro Axle Assembly Part Number: 3C0-501-204
$496.23 MSRP: $695.00You Save: $198.77 (29%)Ships in 1-2 Business DaysAudi TT Quattro Axle Assembly Part Number: 3C0-501-203
$496.23 MSRP: $695.00You Save: $198.77 (29%)Ships in 1-2 Business DaysAudi TT Quattro Output Shaft Part Number: 02D-525-355-B
$568.21 MSRP: $795.82You Save: $227.61 (29%)Ships in 1-2 Business Days
Audi TT Quattro Axle Assembly Part Number: 1K0-501-204-GX
$287.23 MSRP: $344.82You Save: $57.59 (17%)Ships in 1-2 Business DaysAudi TT Quattro Axle Assembly Part Number: 1K0-501-203-GX
$291.15 MSRP: $348.26You Save: $57.11 (17%)Ships in 1-2 Business Days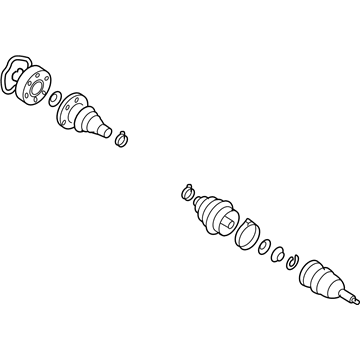
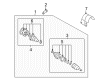
Audi TT Quattro Axle Assembly Part Number: 5Q0-407-272-F
$478.96 MSRP: $574.98You Save: $96.02 (17%)Ships in 1-2 Business Days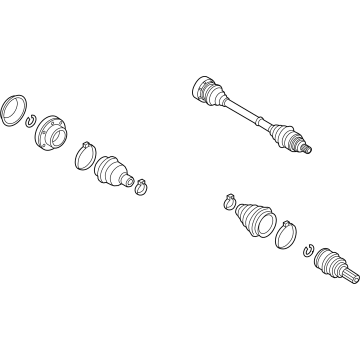
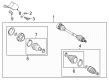
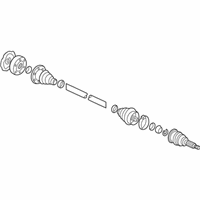
Audi TT Quattro Axle Assembly Part Number: 3Q0-407-271
$580.72 MSRP: $697.15You Save: $116.43 (17%)Ships in 1-2 Business DaysAudi TT Quattro Axle Assembly Part Number: 3Q0-407-272-AG
$624.74 MSRP: $749.98You Save: $125.24 (17%)Ships in 1-2 Business DaysAudi TT Quattro Axle Assembly Part Number: 1K0-501-203-G
$627.71 MSRP: $753.55You Save: $125.84 (17%)Ships in 1-2 Business Days
| Page 1 of 2 |Next >
1-20 of 31 Results
Audi TT Quattro Axle Shaft
Choose original equipment manufacturer Axle Shaft for great performance and strong durability. They use Audi's official craftsmanship and high-grade materials, and meet strict quality standards. Are you looking for quality Axle Shaft at a good price? Come to our online store. We carry a wide range of genuine parts for your Audi TT Quattro and the prices are competitive. Each part comes with the manufacturer's warranty. You can install with confidence and get steady results. Over time, you'll save money and avoid hassle. Keep your maintenance simple and protect your vehicle with OEM parts. Get the quality your TT Quattro needs now.
Audi TT Quattro Axle Shaft Parts and Q&A
- Q:How to remove and install a Front Axle Shaft on Audi TT Quattro?A:Remove the hubcap and, for alloy wheels, pull off the center cap using the pulling hook from the vehicle tool kit. Loosen the flange bolt or 12-point drive axle nut a maximum of 90° with the vehicle standing on its wheels, as these are accessible through the center of the wheel after removing the center cap. Raise the car enough to relieve the load on the front wheels and support it safely. Have an assistant press the brake pedal to prevent the wheel from turning, then remove the flange bolt or 12-point nut from the drive axle. Remove the wheel and raise the vehicle high enough to allow access underneath, ensuring it is safely supported. Remove the mounting bolts and protective cover above the axle boot if applicable, then unbolt the drive axle from the transmission flange, rotating the axle to access the remaining mounting bolts. If the drive axle does not have the shown mounting bolts, consult the relevant information for drive axles with splines on the inner joint. Use wire or heavy-duty zip ties to temporarily suspend the axle from the body, avoiding letting it hang unsupported to prevent damage to the inner joint. Mark the positions of the Ball Joint lower mounting nuts and remove them, then take off the Control Arm from the ball joint. Press the drive axle out of the wheel bearing housing, using a press tool if necessary, especially for bonded axles. For drive axles with splines on the inner joint, place an aluminum wedge between the transmission housing and the inner triple roller joint, then force the drive axle out of the transmission with a firm blow to the wedge tool. Replace the circlip on the end of the joint body if it was removed, and then remove the drive axle from the vehicle. Before installation, clean the splines of the drive axle and check the axle boots for damage or cracks, replacing them as necessary. Install components in reverse order of removal, applying locking fluid to the outer spline for bonded axles. Install a new 12-point nut or flange bolt as far as possible by hand, lower the vehicle if necessary, and have an assistant press the brake pedal to keep the drive axle from turning. Tighten the 12-point nut or flange bolt to the initial torque specification, then install the wheel without the center cap and tighten the lug bolts to the initial torque specification using a diagonal pattern. Lower the vehicle so that the weight is resting on the wheels, then tighten the wheel lugs to the final torque specification and tighten the 12-point nut or flange bolt for the drive axle to the final torque specification.
Related Audi TT Quattro Parts
 Audi TT Quattro Axle Beam
 Audi TT Quattro Bump Stop
 Audi TT Quattro Control Arm Bushing
 Audi TT Quattro Lateral Link
 Audi TT Quattro Spindle Nut
 Audi TT Quattro Strut Mounts
 Audi TT Quattro Suspension Control Module
 Audi TT Quattro Sway Bar Bushing
 Audi TT Quattro Sway Bar Link Bushing
 Audi TT Quattro Trailing Arm
 Audi TT Quattro Trailing Arm Bushing
 Audi TT Quattro Wheel Hub Bolt
Browse by Year
2023 Axle Shaft
2022 Axle Shaft
2021 Axle Shaft
2020 Axle Shaft
2019 Axle Shaft
2018 Axle Shaft
2017 Axle Shaft
2016 Axle Shaft
2015 Axle Shaft
2014 Axle Shaft
2013 Axle Shaft
2012 Axle Shaft
2011 Axle Shaft
2010 Axle Shaft
2009 Axle Shaft
2008 Axle Shaft
2006 Axle Shaft
2005 Axle Shaft
2004 Axle Shaft
2003 Axle Shaft
2002 Axle Shaft
2001 Axle Shaft
2000 Axle Shaft