×
- Hello
- Login or Register
- Quick Links
- Live Chat
- Track Order
- Parts Availability
- RMA
- Help Center
- Contact Us
- Shop for
- Audi Parts

My Garage
My Account
Cart
Genuine Audi TT Quattro Alternator
Generator- Select Vehicle by Model
- Select Vehicle by VIN
Select Vehicle by Model
orMake
Model
Year
Select Vehicle by VIN
For the most accurate results, select vehicle by your VIN (Vehicle Identification Number).
19 Alternators found
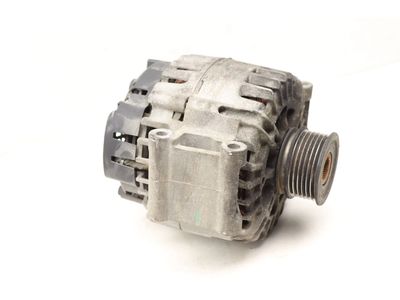
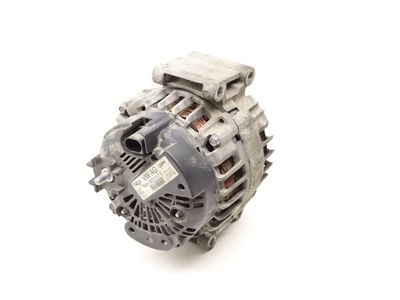
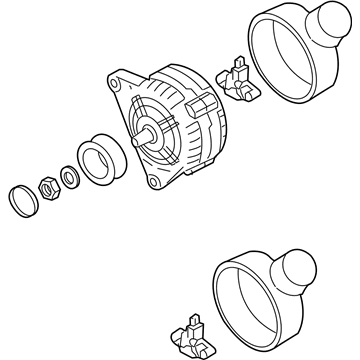
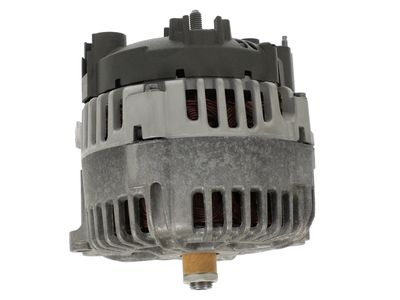
Audi TT Quattro Alternator Part Number: 06H-903-017-E
$650.93 MSRP: $841.54You Save: $190.61 (23%)Ships in 1-2 Business Days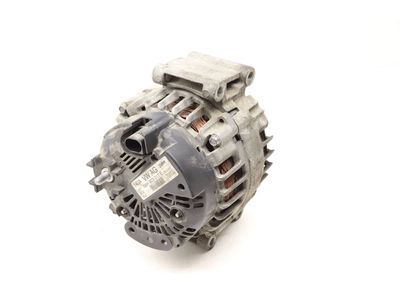
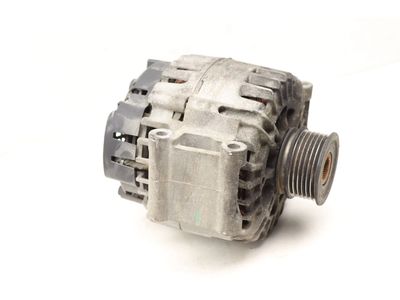
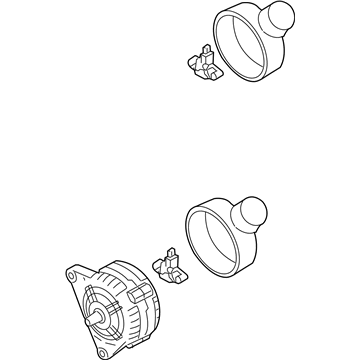
Audi TT Quattro Alternator Part Number: 06H-903-017-EX
$568.10 MSRP: $731.74You Save: $163.64 (23%)Ships in 1-2 Business Days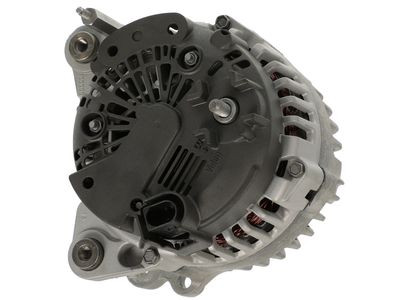
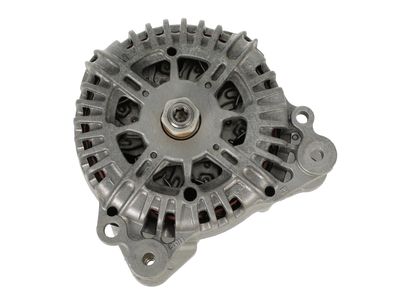
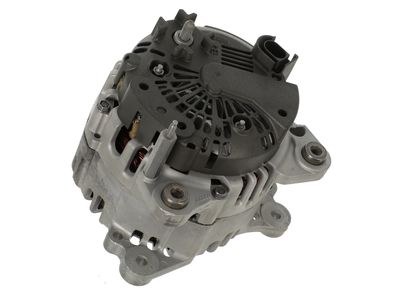
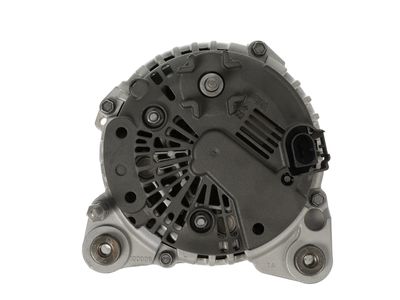
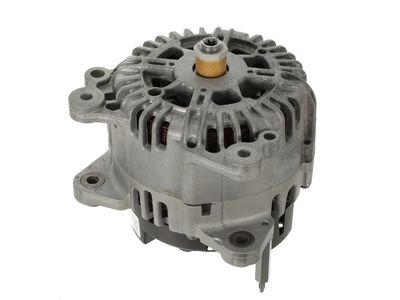
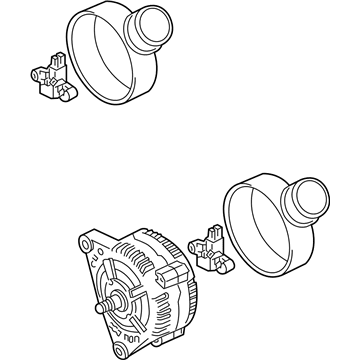
Audi TT Quattro Alternator Part Number: 06F-903-023-HX
$587.00 MSRP: $754.82You Save: $167.82 (23%)Ships in 1-2 Business Days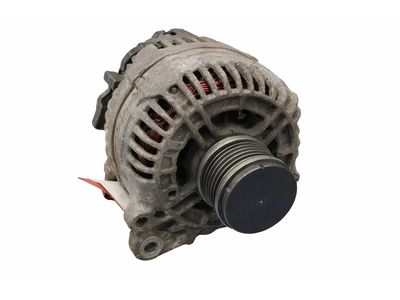
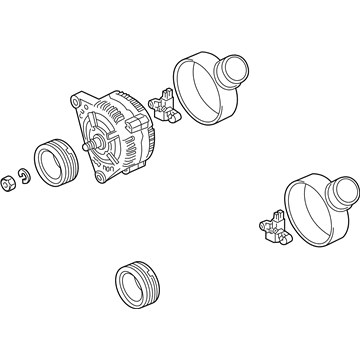
Audi TT Quattro Alternator Part Number: 06F-903-023-F
$925.21 MSRP: $1196.14You Save: $270.93 (23%)Ships in 1-2 Business Days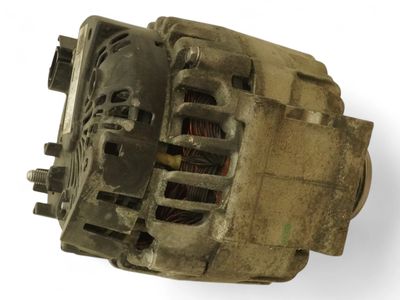
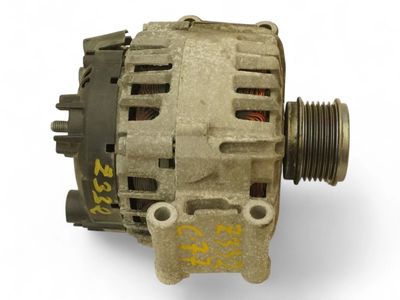
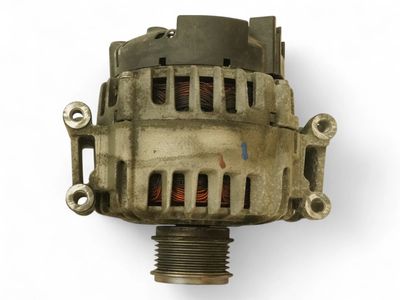
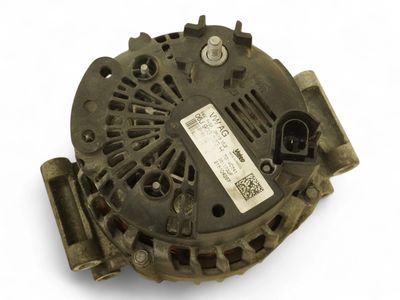
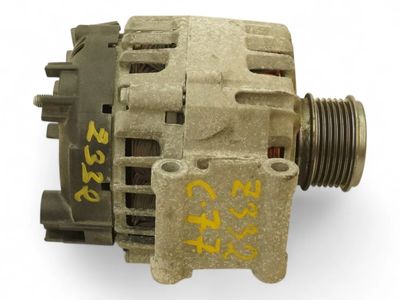
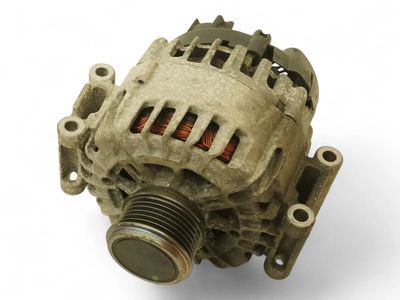
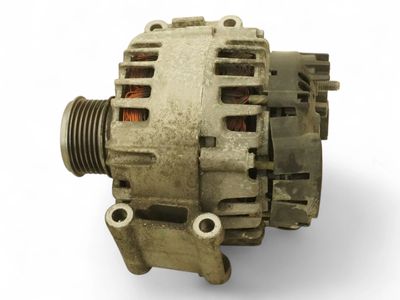
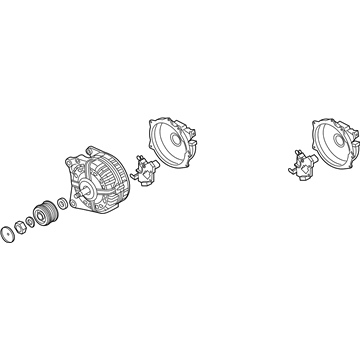
Audi TT Quattro Alternator Part Number: 06J-903-024-D
$929.39 MSRP: $1201.53You Save: $272.14 (23%)Ships in 1-2 Business Days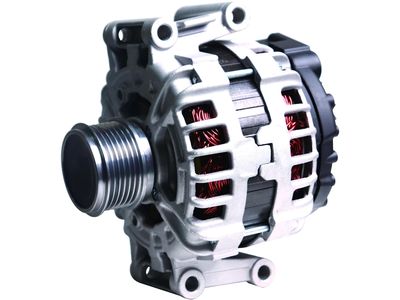
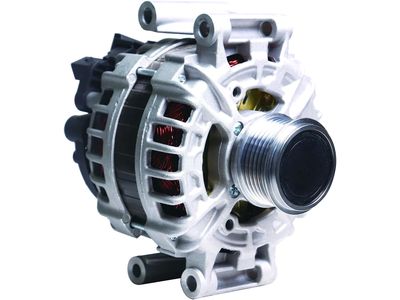
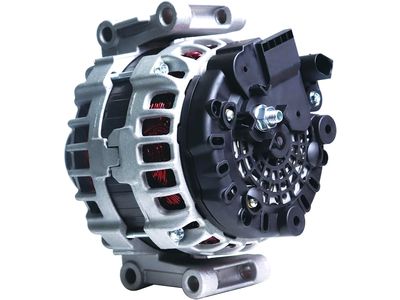
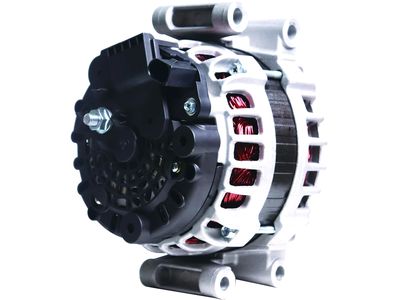
Audi TT Quattro Alternator Part Number: 06K-903-024-C
$934.14 MSRP: $1207.68You Save: $273.54 (23%)Ships in 1-2 Business Days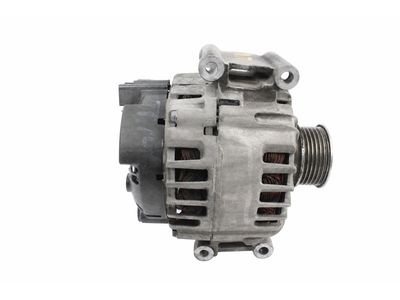
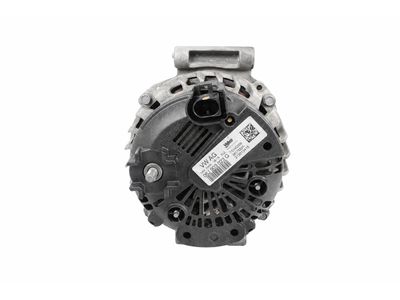
Audi TT Quattro Alternator Part Number: 06J-903-023-Q
$946.04 MSRP: $1223.06You Save: $277.02 (23%)Ships in 1-2 Business Days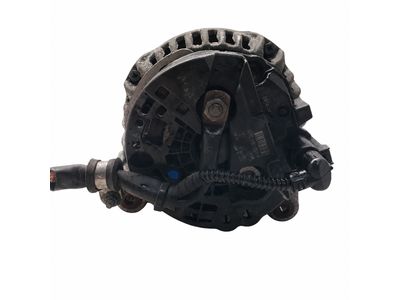
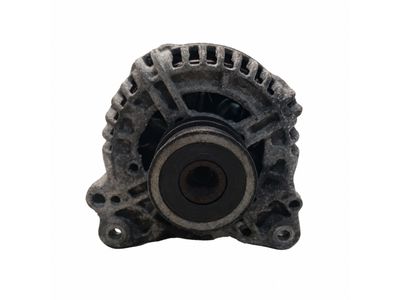
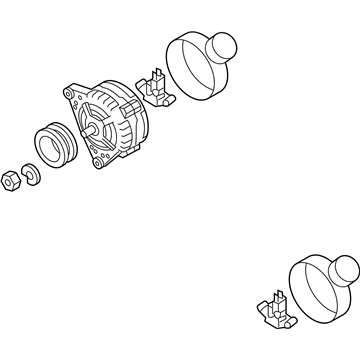
Audi TT Quattro Alternator Part Number: 07K-903-023-A
$972.81 MSRP: $1257.68You Save: $284.87 (23%)Ships in 1-2 Business Days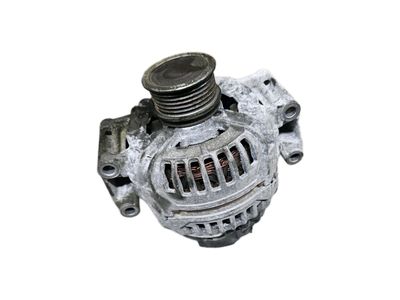
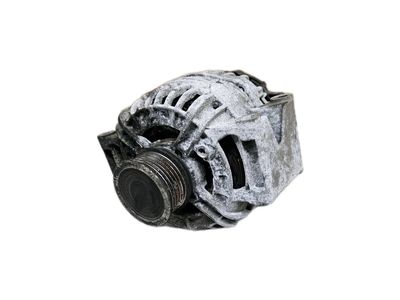
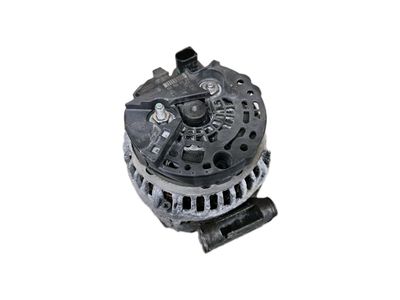
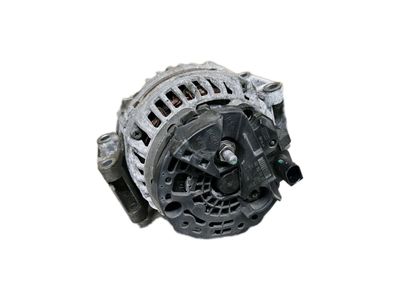
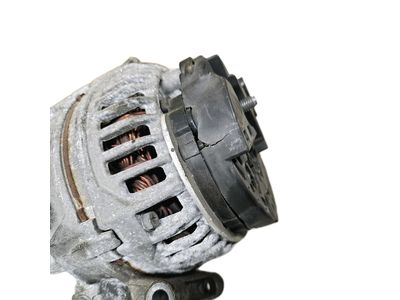
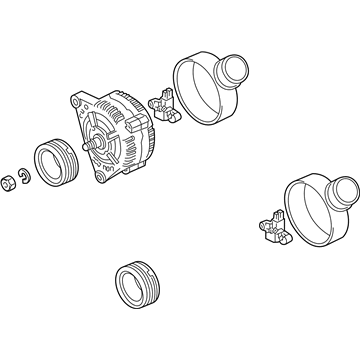
Audi TT Quattro Alternator Part Number: 06B-903-016-AB
$1002.56 MSRP: $1296.14You Save: $293.58 (23%)Ships in 1-2 Business Days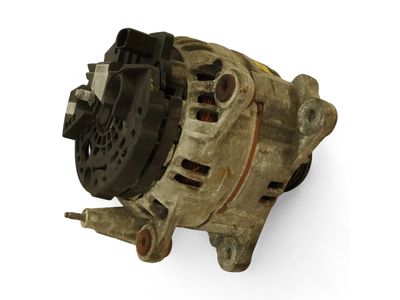
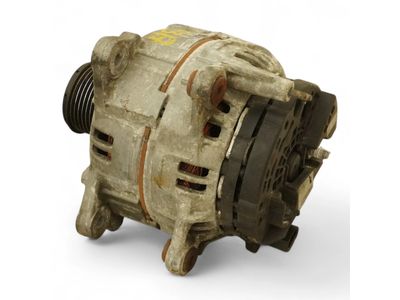
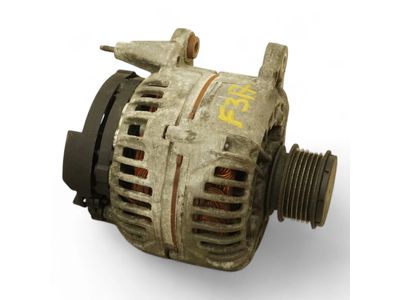
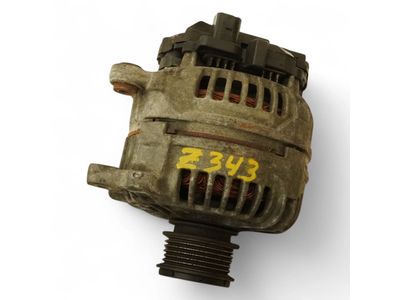
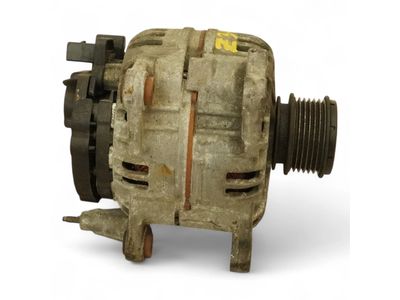
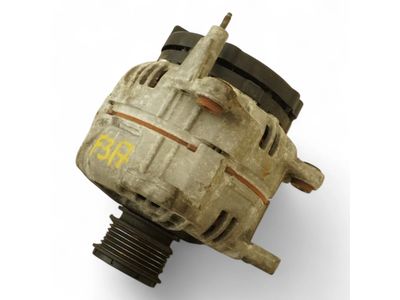
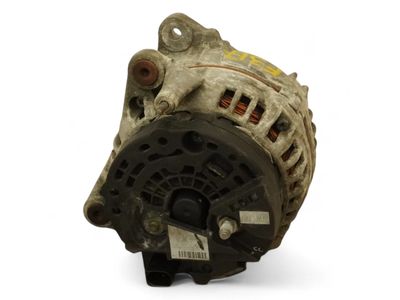
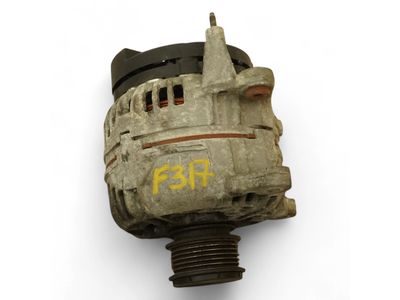
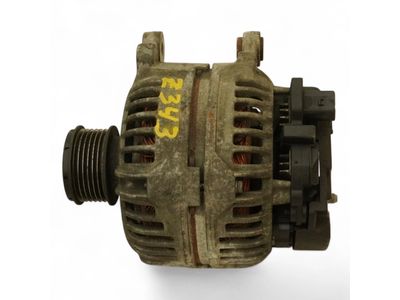
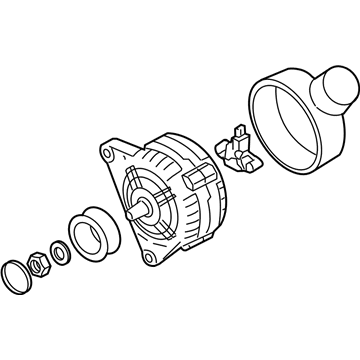
Audi TT Quattro Alternator Part Number: 038-903-024-GX
$220.49 MSRP: $279.62You Save: $59.13 (22%)Ships in 1-2 Business Days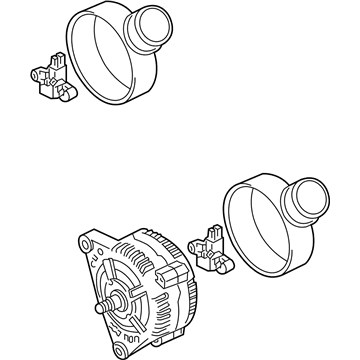
Audi TT Quattro Alternator Part Number: 03L-903-023-AX
$347.41 MSRP: $446.15You Save: $98.74 (23%)Ships in 1-2 Business Days
Audi TT Quattro Alternator Part Number: 038-903-018-QX
$492.48 MSRP: $633.29You Save: $140.81 (23%)Ships in 1-2 Business DaysAudi TT Quattro Alternator Part Number: 028-903-029-GX
$551.94 MSRP: $711.52You Save: $159.58 (23%)Ships in 1-2 Business Days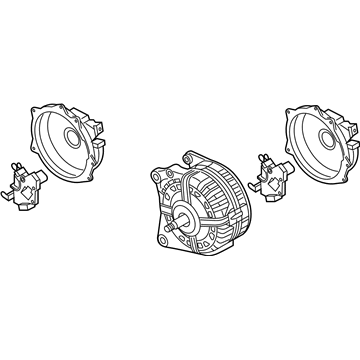
Audi TT Quattro Alternator Part Number: 06K-903-024-CX
$541.85 MSRP: $697.12You Save: $155.27 (23%)Ships in 1-2 Business Days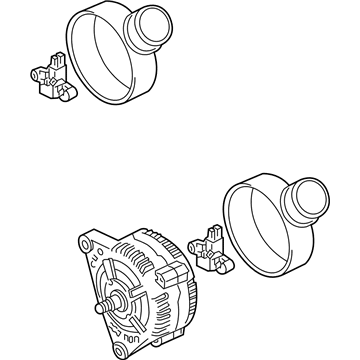
Audi TT Quattro Alternator Part Number: 06B-903-019-EX
$568.10 MSRP: $731.74You Save: $163.64 (23%)Ships in 1-2 Business Days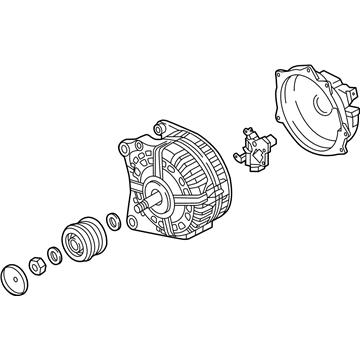
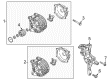
Audi TT Quattro Alternator Part Number: 06K-903-023-J
$865.71 MSRP: $1119.23You Save: $253.52 (23%)Ships in 1-2 Business DaysAudi TT Quattro Alternator Part Number: 06J-903-023-QX
$946.04 MSRP: $1223.06You Save: $277.02 (23%)Ships in 1-2 Business DaysAudi TT Quattro Alternator Part Number: 03L-903-023
$1002.56 MSRP: $1296.14You Save: $293.58 (23%)Ships in 1-2 Business DaysAudi TT Quattro Alternator Part Number: 06F-903-023-FX
$508.77 MSRP: $650.97You Save: $142.20 (22%)Ships in 1-2 Business Days
Audi TT Quattro Alternator
Choose original equipment manufacturer Alternator for great performance and strong durability. They use Audi's official craftsmanship and high-grade materials, and meet strict quality standards. Are you looking for quality Alternator at a good price? Come to our online store. We carry a wide range of genuine parts for your Audi TT Quattro and the prices are competitive. Each part comes with the manufacturer's warranty. You can install with confidence and get steady results. Over time, you'll save money and avoid hassle. Keep your maintenance simple and protect your vehicle with OEM parts. Get the quality your TT Quattro needs now.
Audi TT Quattro Alternator Parts and Q&A
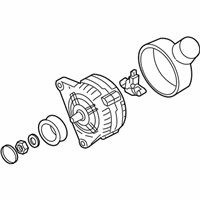
- Q:How to remove and reinstall the Alternator and ribbed belt in 1.8L on Audi TT Quattro?A:Remove sound absorber panels from the engine, battery, top of the lock carrier, and coolant reservoir. Disconnect the battery negative terminal. Release tension on the ribbed belt and mark its running direction if re-using. Lock the ribbed belt tensioner with an appropriate-sized drift or special tool T10060, then remove the ribbed belt. For vehicles with a 180 hp engine, remove the mounting bolts at the front of the engine and unclip the secondary air injection hose. For vehicles with a 225 hp engine, disconnect hoses and clamps to remove the intake air duct. Seal off openings of the charge air circuit with clean rags to prevent dirt entry. Loosen the clamp and remove the vacuum hose from the intake manifold. Unbolt the mounting bracket for solenoid valves from the front of the intake manifold, detach the dipstick guide tube, disconnect the harness connector, and unscrew the mounting bolts for the solenoid valve. Unclip the vacuum line from the retaining clip and remove the solenoid valve mounting bracket. Use a small screwdriver to release the locking tab and remove the harness connector. Remove the nut from the positive alternator terminal and disconnect the wiring harness retainer from the back of the alternator, positioning the wiring to the side. Remove the alternator mounting bolts and lift the alternator upward from the mounting bracket. Before installing the alternator, drive the threaded sleeves approximately 4 mm in the direction of the arrows. Install in reverse order of removal, ensuring that if the belt was removed, it is installed with the same running direction as previously marked, and that the ribbed belt is correctly seated in the pulleys. After installing the alternator, reconnect the battery and run the engine briefly, then shut it off and check that the ribbed belt remains correctly seated in the belt pulleys.
Related Audi TT Quattro Parts
 Audi TT Quattro Alternator Bracket
 Audi TT Quattro Alternator Pulley
 Audi TT Quattro Battery Cable
 Audi TT Quattro Battery Hold Downs
 Audi TT Quattro Battery Vent Tube
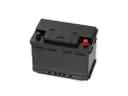 Audi TT Quattro Car Battery
 Audi TT Quattro Ground Cables
 Audi TT Quattro Starter
 Audi TT Quattro Starter Brush
 Audi TT Quattro Starter Drive Gear
 Audi TT Quattro Starter Solenoid
 Audi TT Quattro Voltage Regulator
Browse by Year
2023 Alternator 2022 Alternator 2018 Alternator 2017 Alternator 2016 Alternator 2015 Alternator 2014 Alternator 2013 Alternator 2012 Alternator 2011 Alternator 2010 Alternator 2009 Alternator 2008 Alternator 2006 Alternator 2005 Alternator 2004 Alternator 2003 Alternator 2002 Alternator 2001 Alternator 2000 Alternator