×
- Hello
- Login or Register
- Quick Links
- Live Chat
- Track Order
- Parts Availability
- RMA
- Help Center
- Contact Us
- Shop for
- Audi Parts

My Garage
My Account
Cart
Genuine Audi TT Secondary Air Injection Check Valve
SAI Check Valve- Select Vehicle by Model
- Select Vehicle by VIN
Select Vehicle by Model
orMake
Model
Year
Select Vehicle by VIN
For the most accurate results, select vehicle by your VIN (Vehicle Identification Number).
3 Secondary Air Injection Check Valves found
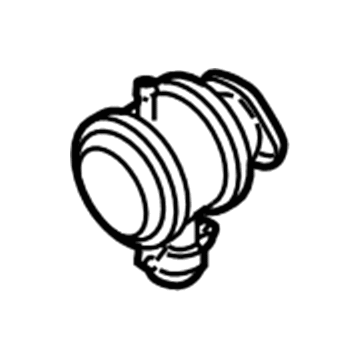
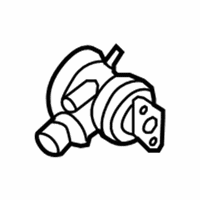
Audi TT Air Control Valve Part Number: 06A-131-102-H
$110.71 MSRP: $155.05You Save: $44.34 (29%)Ships in 1-2 Business DaysAudi TT Air Control Valve Part Number: 06A-131-102-G
$239.19 MSRP: $335.00You Save: $95.81 (29%)Ships in 1-2 Business Days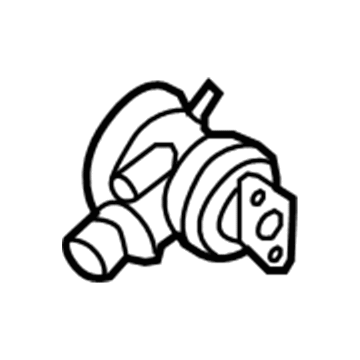
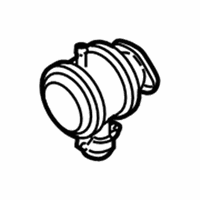
Audi TT Air Control Valve Part Number: 022-131-101-E
$356.99 MSRP: $499.98You Save: $142.99 (29%)Ships in 1-2 Business Days
Audi TT Secondary Air Injection Check Valve
Choose original equipment manufacturer Secondary Air Injection Check Valve for great performance and strong durability. They use Audi's official craftsmanship and high-grade materials, and meet strict quality standards. Are you looking for quality Secondary Air Injection Check Valve at a good price? Come to our online store. We carry a wide range of genuine parts for your Audi TT and the prices are competitive. Each part comes with the manufacturer's warranty. You can install with confidence and get steady results. Over time, you'll save money and avoid hassle. Keep your maintenance simple and protect your vehicle with OEM parts. Get the quality your TT needs now.
Audi TT Secondary Air Injection Check Valve Parts and Q&A
- Q:How to remove the upper sound absorber panels, vacuum line, and Secondary Air Injection Check Valve from the 1.8L engine on Audi TT?A:Remove upper sound absorber panels from the top of the engine. Remove the vacuum line and connecting line at the combination valve. Unbolt the mounting bolts and remove the valve from the bracket.
- Q:How to check the resistance and functionality of the Secondary Air Injection Check Valve on Audi TT?A:By connecting multimeter leads to the two harness connector terminals of the solenoid valve, the resistance of secondary air injection solenoid valve can be checked. Replace the valve in case of value not getting achieved. Continue performing a test on the solenoid valve for its ground and voltage signals with the LED voltage tester. To apply battery voltage, connect the LED tester leads to the solenoid valve harness connector terminal 1 and ground. Ensure ground and ECM signal connection. Briefly run the starter - the LED should light. Check the LED. If the LED does not light, check fuse #43 in the driver-side fuse panel of the instrument panel, and also check the wiring for short circuits (refer to wiring diagrams). Connect the leads LED tester to terminal 2 of the solenoid valve harness connector and to battery positive. Initiate the output diagnostic test mode with a diagnostic scan tool. Activate the secondary air injection solenoid valve; the LED should turn ON. In case the LED stays off you need to check fuse #43 in the fuse panel that is on the driver side of the dashboard and then check wiring for shorts with wiring diagrams.
Related Audi TT Parts
 Audi TT Catalytic Converter
 Audi TT Crankcase Breather Hose
 Audi TT EGR Valve
 Audi TT Muffler
 Audi TT Exhaust Manifold Gasket
 Audi TT Air Injection Pump
 Audi TT EGR Valve Gasket
 Audi TT Exhaust Clamp
 Audi TT Exhaust Hanger
 Audi TT Exhaust Resonator
 Audi TT Leak Detection Pump
 Audi TT Vapor Canister