×
- Hello
- Login or Register
- Quick Links
- Live Chat
- Track Order
- Parts Availability
- RMA
- Help Center
- Contact Us
- Shop for
- Audi Parts

My Garage
My Account
Cart
Genuine Audi TT Quattro A/C Condenser
Air Conditioning Condenser- Select Vehicle by Model
- Select Vehicle by VIN
Select Vehicle by Model
orMake
Model
Year
Select Vehicle by VIN
For the most accurate results, select vehicle by your VIN (Vehicle Identification Number).
7 A/C Condensers found
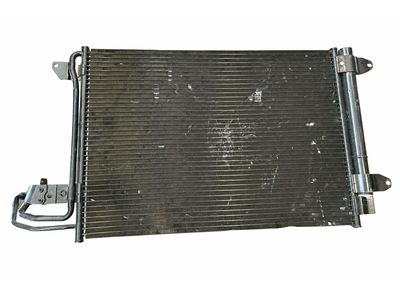
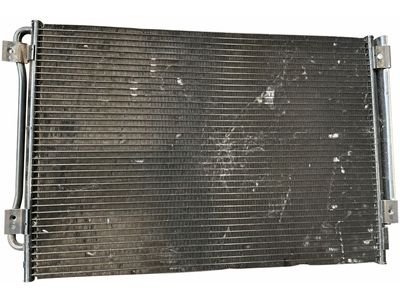
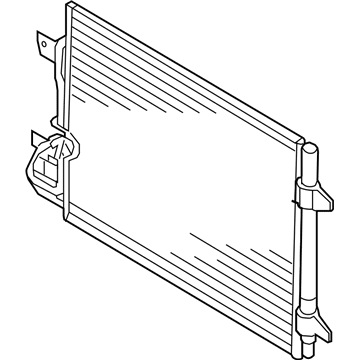
Audi TT Quattro Condenser Part Number: 1K0-820-411-Q
$178.50 MSRP: $250.00You Save: $71.50 (29%)Ships in 1-2 Business Days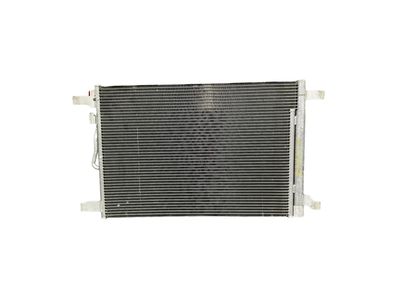
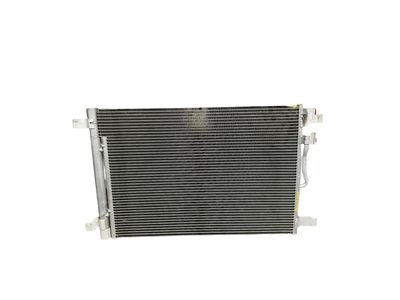
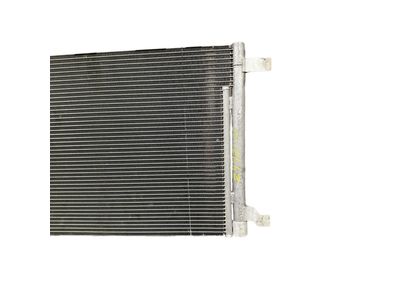
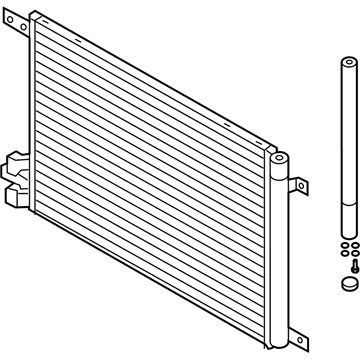
Audi TT Quattro Condenser Assembly Part Number: 5Q0-816-411-AR
$256.14 MSRP: $358.73You Save: $102.59 (29%)Ships in 1-2 Business Days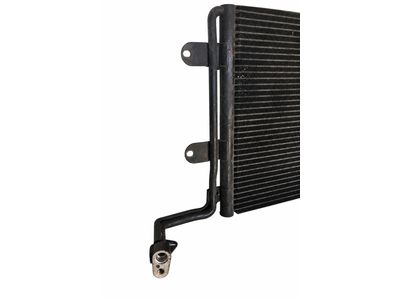
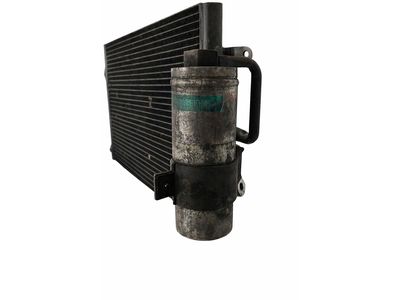
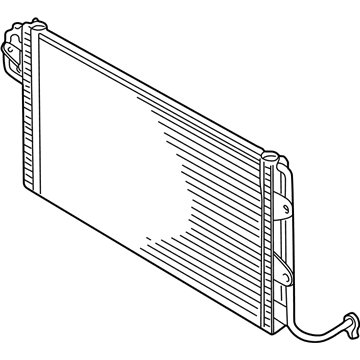
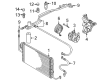
Audi TT Quattro Condenser Assembly Part Number: 1J0-820-413-N
$256.14 MSRP: $358.73You Save: $102.59 (29%)Ships in 1-2 Business Days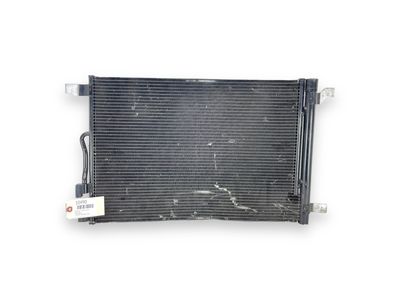
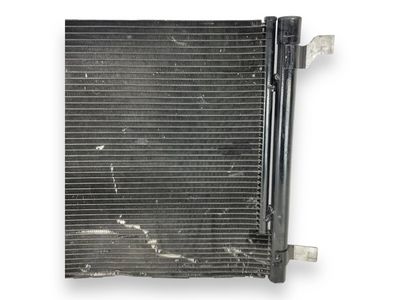
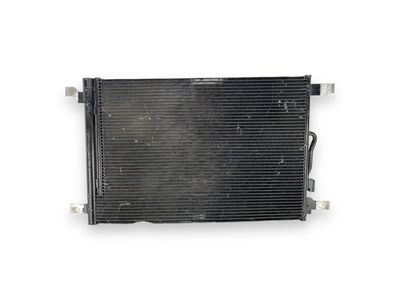
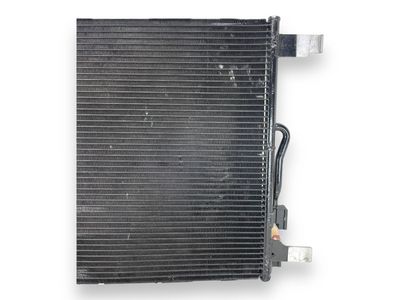
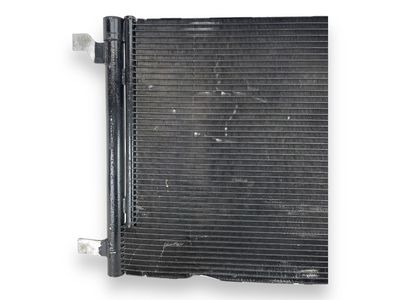
Audi TT Quattro Condenser Assembly Part Number: 5Q0-816-411-AS
$439.11 MSRP: $615.00You Save: $175.89 (29%)Ships in 1-2 Business Days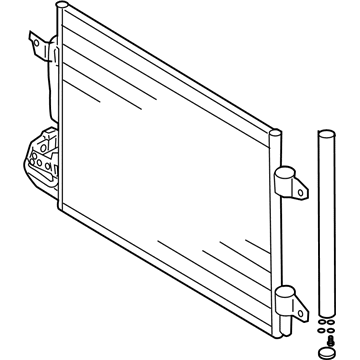
Audi TT Quattro Condenser Assembly Part Number: 1K0-820-411-AK
$241.57 MSRP: $338.32You Save: $96.75 (29%)Ships in 1-2 Business Days
Audi TT Quattro Condenser Part Number: 5Q0-816-411-BE
$256.14 MSRP: $358.73You Save: $102.59 (29%)Ships in 1-2 Business Days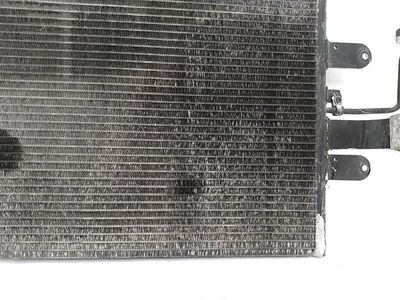
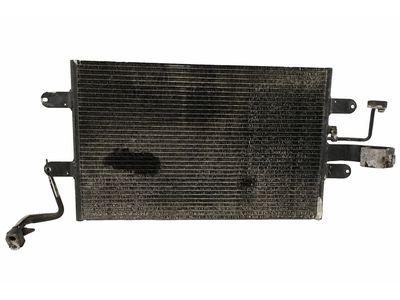
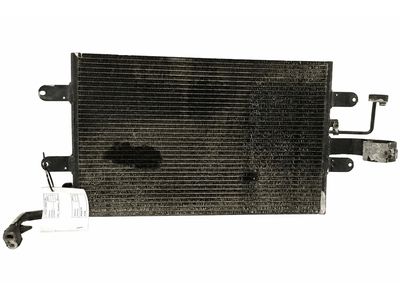
Audi TT Quattro Condenser Assembly Part Number: 8N0-820-411-A
$285.60 MSRP: $400.00You Save: $114.40 (29%)Ships in 1-2 Business Days
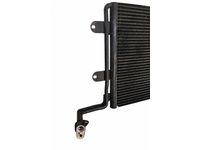
Audi TT Quattro A/C Condenser
Choose original equipment manufacturer A/C Condenser for great performance and strong durability. They use Audi's official craftsmanship and high-grade materials, and meet strict quality standards. Are you looking for quality A/C Condenser at a good price? Come to our online store. We carry a wide range of genuine parts for your Audi TT Quattro and the prices are competitive. Each part comes with the manufacturer's warranty. You can install with confidence and get steady results. Over time, you'll save money and avoid hassle. Keep your maintenance simple and protect your vehicle with OEM parts. Get the quality your TT Quattro needs now.
Audi TT Quattro A/C Condenser Parts and Q&A
- Q:How can the A/C Condenser be removed without discharging the refrigerant on Audi TT Quattro?A:The condenser cannot be removed without discharging the refrigerant. Discharge the refrigerant circuit using approved procedures and equipment according to the manufacturer's instructions. Remove the front bumper assembly as a unit. Depending on the engine version, it is usually necessary to partially loosen or move the front end lock carrier forward for access. Mark the installed position of the lock carrier and front end components at the front fenders and long members with a felt-tipped marker. One at a time, remove the bolts securing the lock carrier to the front long members and replace them with bolts approximately 100 mm (4 in.) long and washers. Pull the lock carrier out as far as possible with lines and hoses attached. Remove the receiver drier, which removes refrigerant lines from the passenger's side of the condenser. Remove the securing bolt from the refrigerant line from the driver's side of the condenser. Remove the four screws securing the condenser to the carrier. Remove the radiator fans with mountings. Release the radiator from the lock carrier and tilt it backward. Remove the condenser from below between the lock carrier and radiator. The removed original condenser contains refrigerant oil, and the equivalent amount of oil must be returned to the refrigerant system when replacing the condenser. Installation is the reverse of removal, noting to always replace O-rings. When installing the refrigerant line, ensure that the locating pin is properly positioned. Tighten the refrigerant line securing bolt to 15 Nm (11 ft-lb) and the condenser securing bolts to 8 Nm (71 in-lb). Install the lock carrier and front end components in reverse order of removal. Finally, evacuate and recharge the system.
Related Audi TT Quattro Parts
 Audi TT Quattro A/C Accumulator
 Audi TT Quattro A/C Compressor
 Audi TT Quattro A/C Compressor Clutch
 Audi TT Quattro A/C Hose
 Audi TT Quattro A/C Service Cap
 Audi TT Quattro A/C System Valve Core
 Audi TT Quattro Air Temperature Sensor
 Audi TT Quattro Ambient Temperature Sensor
 Audi TT Quattro Blend Door Actuator
 Audi TT Quattro Cabin Air Filter
 Audi TT Quattro Evaporator
 Audi TT Quattro Heater Core
Browse by Year
2023 A/C Condenser
2022 A/C Condenser 2021 A/C Condenser 2020 A/C Condenser 2019 A/C Condenser 2018 A/C Condenser
2017 A/C Condenser 2016 A/C Condenser 2015 A/C Condenser
2014 A/C Condenser
2013 A/C Condenser
2012 A/C Condenser
2011 A/C Condenser
2010 A/C Condenser
2009 A/C Condenser
2008 A/C Condenser
2006 A/C Condenser 2005 A/C Condenser 2004 A/C Condenser 2003 A/C Condenser 2002 A/C Condenser 2001 A/C Condenser 2000 A/C Condenser